Friday 23 December 2011

Project 8: 'FOLDING FLOCKS'

I like working with paper, mostly because you can easily cut it and also most of the time it holds its shape whatever you do with it. It looked like a good idea to use it for my project. I choose to go with different kinds of paper. For the first 'try' I used white vibe pattern paper and created few 'flocks'. I used simple origami technic - when you take two stripes of paper and fold them one over the other:


Then I arranged the 'flocks' into few different intersections. I like the fact that even I used white paper on a white background, with a help of light and shadows it still creates quite interesting forms:


For the next project I used coloured paper and metallic paper, using the same technic for folding:


Here are some of the outcomes:


Then I played with Photoshop and put in the image a group of 'visitors' that attended an exhibition. Isn't it funny?

Monday 19 December 2011

Project 7: PRINTING EXPERIENCE II. - lino print

After having fun with 'home made' prints, there was time to try something more serious. I went for lino print. First I created two lino cuts, each for a different colour that I wanted to use:


Then I walked to the school's printing workshop and with a help of Des MacMahon we printed this piece. It looks fabulous. Thank you, Des!


Then I cleaned the two lino cuts and painted one with different shades of acrylic paints..


...and printed on a paper:


The second cut I painted with a pure black colour...


...and printed over the first print. Not bad at all!


Few close up images, some of the colours have been adjusted in Photoshop:


Project 7: PRINTING EXPERIENCE I.

For this project I choose one of the images of the previous post - Connecting flocks. My idea was to make impression of interacting few different elements.


I created few shapes:

The upper shapes was created with using sunflower seeds which I glued and stuck an a card.  The shape below was created with small timber sticks. Then I painted them using acrylic paints:


Another shape was created with acrylic paste which I applied on card and after it dried I painted it with a metallic paint:


Then I printed them one by one on a paper. I was quite surprise with the outcome. See for yourself:

On a dark paper using slighlty colder shades of metallic acrylic paint:


Sunday 27 November 2011

Project 6: DRAWING and PAINTING

After few successful projects which were created as 3D work, there was time to concentrate on 2D realisations. This was not easy, I am more used to work in free space. I decided to work on large scale, which would give me more freedom. Here are few videos of my work. Each of them is created as a 'step by step' demonstration. I am also including some images which I consider as the most interesting of each project:


For the following piece I used a black background and white and metallic paint. I found some close ups more interesting than the final work in full scale. Some of the details reminds me of dramatic seas of British painter William Turner (maybe because I watched video about his work the previous night).


And here few pictures of 'Turner's seas':


This piece was made as a reference to ceramic piece 'Momentum' made by Barbro Aberg. The image was taken from artist's website, photographer: Lars Henrik Mardahl:


I started with black drawing and added different colours step by step. However, I found the first black drawing the most interesting:


Sunday 20 November 2011

Project 5: CONNECTING FLOCKS II.

I recorded a short video using moving spot light. I am also including few images of the finished project. Enjoy!


Saturday 19 November 2011

Project 5: CONNECTING FLOCKS I.

Welcome to my new project. After having fun with 'the cubes' I decided to go back to the basic idea with connecting bird flocks. I did not really know where to start, so I started with drawing. Here are few first sketches...


... and then the idea started to emerge...


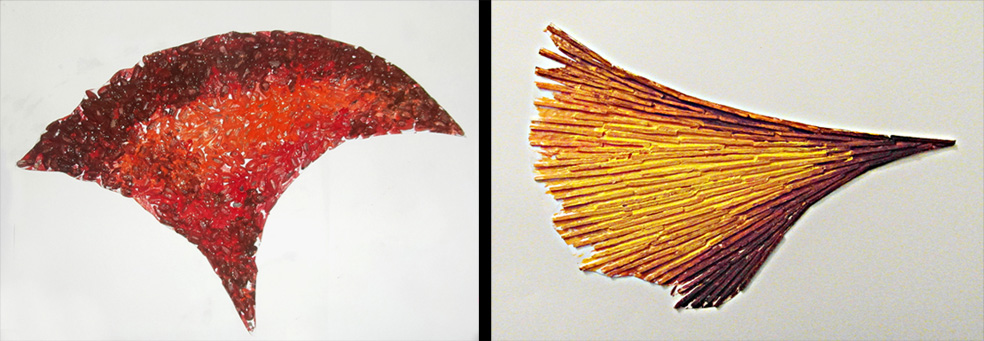
... a bit of colour...


... and this is the final drawing before I started 'the hard work' on the final piece:


Then I made frames for my flocks. The shapes are made of cable covers (thank you, DIY Wick's!)...

...I stretched a fine net over the frames and pined up 'birds' made of slightly reflective green fabric and kitchen foil (thank you Guiney's!)...


... finally the 'flocks'. I decided to go with two shapes:


Now there was time to give my flocks a bit of life. But before the installation I came with an idea of reflecting the 'shapes' in a mirror. I was a bit greedy I suppose. I just wanted more flocks with no work! Well, mirror is a bit expensive and would not fit with the security arrangements at our school, so I choose kitchen foil instead. Here is my 'box' covered in silver:

Few attempts with the 'flocks' reflecting in the foil...


...with a spot light in dark:


The outcome was not too bad but I was not particularly happy with it. The 'flocks' were not visible on the foil. Well, more precisely, the only thing that was reflecting was the light! No wonder, the greed is a deadly sin... I had to admit that the idea with foil did not work and there was time to go back to basics with plain white background:


Now it looked much better, but there was still something missing. Maybe the spot light? Again??? Yes, again... the light with the shadows make the difference:


If you were able to read this post down to this point - then I would like to thank you for your patience. For better images and a video of this project, please have a look at my later post.

Monday 31 October 2011

FUTURE MAKERS 2011 - Deserved break

After our first assessment I felt I needed a break. I went to see this fantastic exhibition. It is a pity that it did not have a better advertising and that it was so short. Worth to see, indeed... enjoy.


Project 4: SPLASH OF COLOUR

At this stage I considered the Project 4 almost finished. For me it worked, the silver cubes were moving the way I wanted, they only looked a bit cold. I thought that maybe a bit of colour would make a difference. I just did not know, how to make silver cubes coloured. Well, they pretty reflected anything that was around them, why would not they reflect colour as well? I went to a craft shop, bought few sheets of coloured paper and put it on the floor under the installation:


Then I recorded a new video. I like the result when each cube reflects the colour depending on the actual sheet below:


As the last step I decided to make the elastics of different length just to see what difference it will make to the movement of whole piece. I did not want to move them in complete chaos and I created some kind of pyramid:


The video shows that the length of elastic has huge impact on the actual movement of each cube. They do not move simultaneously and that is why they tangle very easily:


I prefer the movement of cubes when they are in the same plane. It demonstrates the movement of birds more graphically.

After the last experiment I finished working on this project. It was a success and there was time to move on something new.